Showing posts with label What I learned today. Show all posts

Monday, August 1, 2011

Angry Chickens

Chicken soup for breakfast, lunch and dinner at our place this week, we're all in bed with the flu!
Apparently chicken soup does more than just soothe the soul. 
Some researchers are now agreeing with your old gran and saying that chicken soup does actually help fight of those sniffles. When mixed with a good dose of veggies it helps reduce the inflammation and mucus production caused by the common cold and flu. You can read more about this here. 
I'm off to the coop to find me a nice big boiler!
(No, I'm not really, My head hurts too much!!)
I'M OFF TO REST UP FOR A FEW DAYS, BE BACK ON TRACK AGAIN SOON

Wednesday, May 4, 2011

Next on the Preserving List . . .

SWEET MUSTARD PICKLES
1 x cauliflower
250gm beans
2 x cucumbers
1/4  x capsicum
1/2 kg onions
Salt
Wash Cauliflower and divide into flowerettes
Slice and dice beans, cucumbers and capsicum
Peel and dice onions
Place together in a large pan and sprinkle with salt 
and leave stand for 24 hours
Wash in Cold Water, drain 
 Add 1x litre of Vinegar and bring to the boil
Mix together 1/2 cup Sugar
2 x tab Flour
2 x teasp ground Mustard
plus a handful of Mustard seeds
1 x teasp Curry powder
1 x teasp Turmeric
Add a little water to make a smooth paste and stir through 
Boil for about 15 minutes.  Bottle & Seal

Tip of the Day: Always wear gloves when grating Fresh Turmeric!


Monday, May 2, 2011

Getting into the Quince of things....

With  all the pictures of fresh Quinces growing, Quince picking and Quince cooking splashed across some of my favourite southern blogs, you can imagine how excited I was when I got my hands on some of these at my local market, it was a straight ahead trip into the Kitchen to play...
On the Menu: QUINCE PASTE
How much fun was this to make!
Peel, Core and Chop up about 1 and 1/2 kg of Quince
add 1/2 cup of Water, bring to the boil then simmer for approx 1/2 an hour until the quince becomes soft and tender.  Then blend the mixture until smooth and mushy. 
Add 800gm of Sugar and stir on a low heat until sugar is dissolved.  Reduce heat to very low and cook for approx 4 - 5 hours. I used a simmer mat to keep a more consistent low heat and reduce the chance of my paste burning, it's also a good idea to use a heavy based pan. 
 Keep stirring occasionally. I was prepping up some other preserves in the kitchen at this time so I managed to keep a good eye on it and stirred about every 15 minutes or so...
it was very interesting to see it slowly change colour
 there is  apparently a scientific acid/pigment/chemical reason for this, but I am not going to go into that today . . .
and finally about  4 - 5 hours later you get this
A nice and thick paste that leaves the side of the pan and is a rich ruby red in colour.
Pour it into some greased molds and let sit for about 6 hours or until set.

I have always had a love of quince paste with a nice Brie or Camembert . . . usually it's one of Maggie's, but
this weekend when I head off to celebrate my Mothers 70th Birthday,  we will be enjoying a local Witches Falls Merlot,
 a nice King Island Brie and Gooseberry Jam Quince Paste!

Friday, April 15, 2011

Choko - Is it a Fruit or a Vegetable?

Funny little thing this Choko, I remember my mum always feeding us Choko with dinner, sliced up, boiled and smothered in butter with a sprinkle of salt and pepper, sometimes she outdid herself and served it with white sauce, a bit like you would with cauliflower.  I LOVE IT, and I also serve it to my family regularly.
 The choko, technically speaking is actually a fruit as it has a seed, and it belongs to the  Gourd Family. However I believe it fits into the culinary term as a vegetable that can be cooked 
either savoury or sweet.....
I picked up a couple of green chokos from a stall on the side of the road last week and then I found a white variety at my local market on the weekend. I have never seen the white ones before, apparently they are exactly the same in taste
just a different colour... 

   A choko has quite a bland flavour and when cooked with sugar or syrup it can be disguised as apple or pear, quite popular in the old days when everyone had a choko vine in their backyards and fresh apples and pears were hard to get their hands on.  It is also commonly used in pickles and chutneys and can also substitute fruit to add extra pulp to Jam.  It is also rich in Pectin.
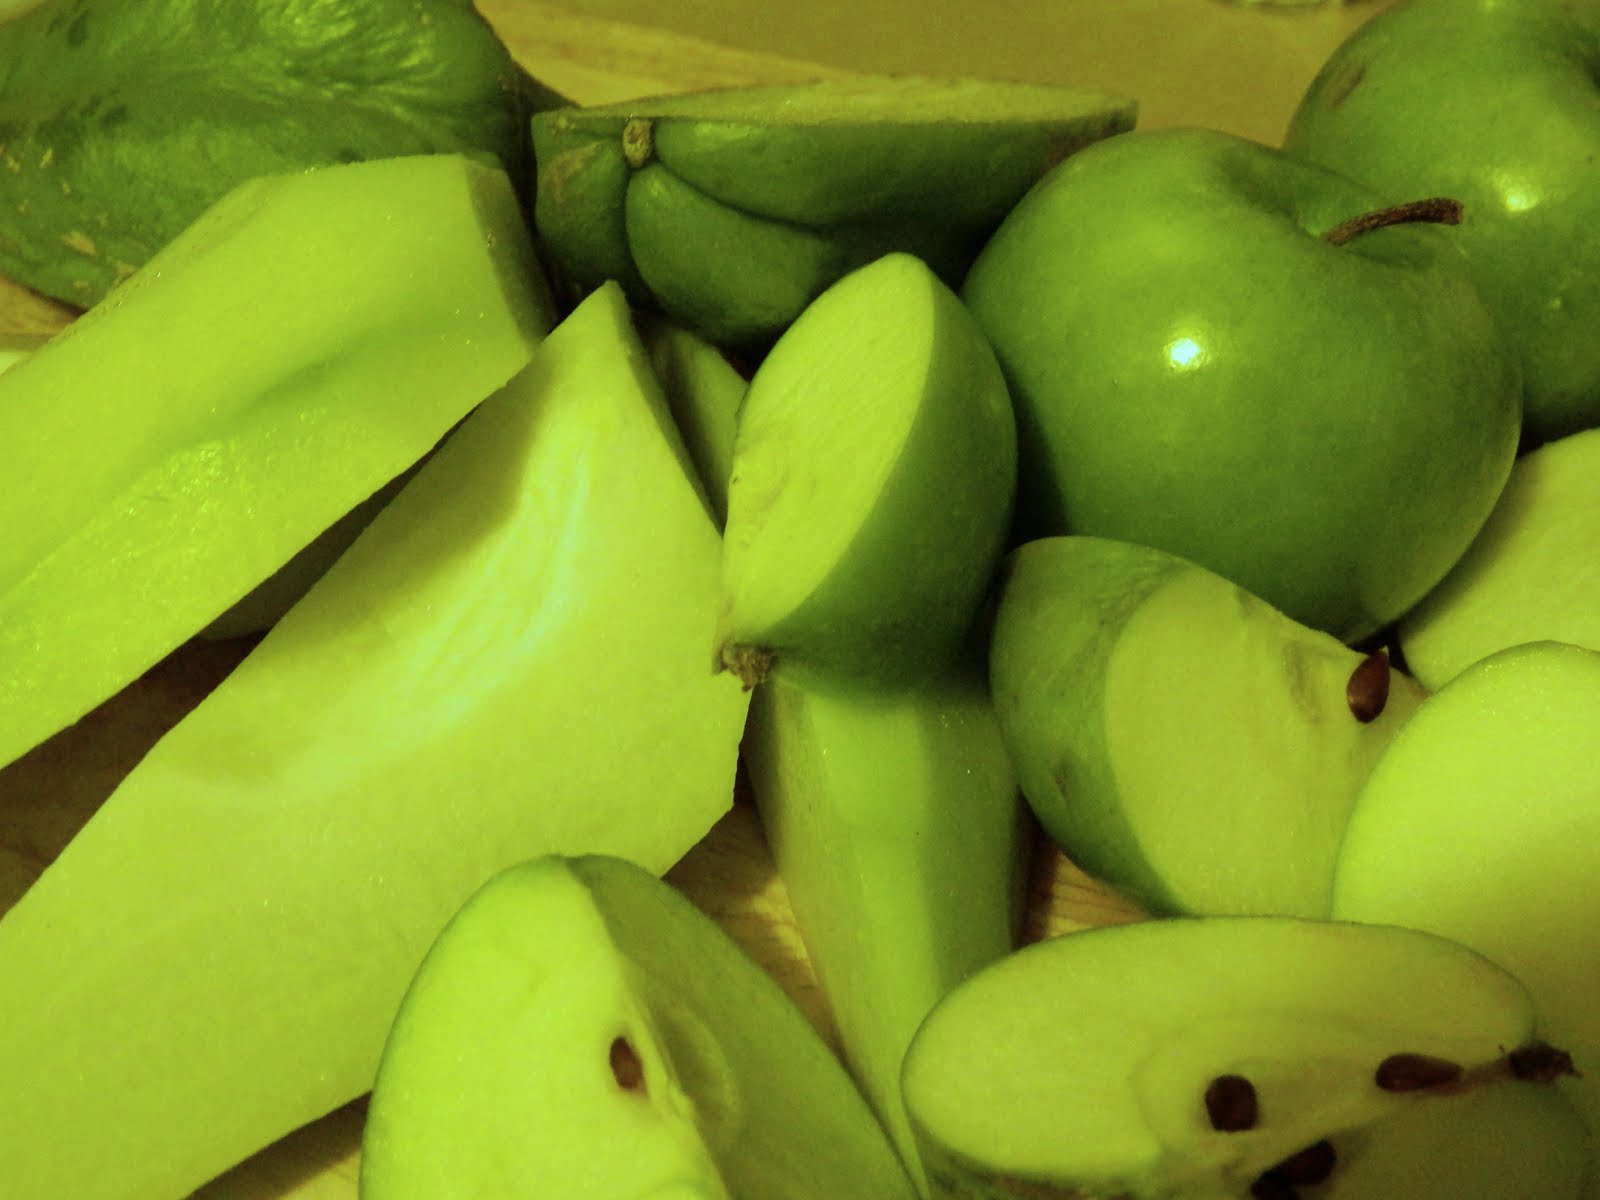
I decided I would try a sweet recipe with a couple of them, just to see what it was really like.  I've stewed up a couple of chokos with about 1/2 doz granny smith apples, a good handful of sugar and some cinnamon...


   APPLE & CHOKO PIE  MMmm smells delicious. . .
I have some special visitors coming over for dinner tonight, I wont tell them its a mix and we'll see if they'll be asking for seconds....
A couple of the leftover choko's have started shooting so I'm popping them straight into pots, Imagine how much fun I will have when I get my own loaded vine full of Chokos...There will be a bit of  Frugal cooking going on here,  thats for sure.
Lets hope these little babies grow for me now!  I'll leave them to shoot in the pots for a while and get their roots established then get them planted and see what happens....

Wednesday, March 9, 2011

Making IT - Not Faking IT


OLD FASHIONED SWEETS

No Artificial Flavours, Colours or Preservatives in this Lot, just good old SUGAR and WATER
 It was Big kids only in the kitchen this time:

Toffee
3 cups sugar
1 cup water
1/4 cup vinegar

Boil all ingredients for approx 10 - 12 minutes, or until a little hard ball can be formed when a little of the mixture is placed in cold water. At this time the mixture will starts to turn a light caramel colour. Take off the heat immediately and allow bubbles to settle (which I did not do) and pour into Patty Pans. Allow to harden.  If you like you may sprinkle them with hundreds and thousands or maybe try some crushed nuts before they set.

One taste of these toffees and I was taken straight back to the confectionery stall that stood outside the tuck shop at my old primary school fete.  I remember making these with Mum when I was younger and through my high school years I experimented with other sweets like, chocolate fudge, coconut ice, sugar coated peanuts, peanut brittle, caramel popcorn balls, homemade honeycomb and marshmallows...
It's been on my list to do for a while now, to make the kids some real homemade treats, my eldest two can't believe that these sweets  taste so good, I caught them sneaking some into their lunchboxes this morning to share with their friends.  It has been so much fun to get the old  recipe books out and make these once again
I know I sound like an old granny, but you just don't see them around anymore, recipes and trends have changed so much.
 I'm actually off to a local Country fete this weekend and I shall be keeping an eye out for any of these goodies on sale.

Marshmallows
1 1/2 tabs gelatine
100ml cold water
pinch salt
1 1/4  cups sugar
140ml hot water
Toasted coconut

Place gelatine, cold water and salt in a mixing bowl
Place sugar and hot water in a saucepan and bring to boiling point
Pour over gelatine mixture and stir until dissolved
Beat until thick and white (holds it's form when lifted) 
Add colouring and flavouring (if desired)
Pour into a greased tray
Cut into squares when set
Toss in toasted coconut
* To toast coconut, spread approx 1 cup of coconut on a large plate and place under the grill, keep tossing coconut until golden all over.
(alternatively you can cook in microwave, just tossing every 20 sec or so for approx 2 - 3 minutes) 


Chocolate Fudge
2 cups sugar
3/4 cup milk
1 1/2 tabs butter
2 tabs cocoa
1/8 teasp cream of tartar
Vanilla

Place sugar, milk, butter, cocoa and cream of tartar in a saucepan
Stir over low heat until dissolved
Allow to boil for approx 8 min or until a little soft ball can be formed when a little of the mixture is placed in cold water
Remove from heat, add vanilla and beat until stiff
Pour into greased tray
When partly set mark into squares
Allow to harden before removing from tin

*Be careful not to over boil as fudge will harden while beating and set brittle and sugary. (Like mine did - Still YUM though)
*To make Vanilla fudge, just omit the cocoa

ENJOY !!!

Monday, February 21, 2011

Yesterday's Tomatoes. . .

Before you ask. . . No, they are NOT from my garden but I did pick them up for a bargain!  $2 actually!!
 I remember my mother always bringing home reduced boxes of half rotten fruit and making us
Fruit Salad....I swore I would never do that to my children, but here I am, now buying bargain boxes from the throwout table at the fruit and veggie shop.
 Lets get Cooking . . .
One of my Christmas presents this year was a food dehydrator (purchased for myself from SANTA) so this is the first time I get to use it. Great device but it sounds like a hairdryer going for about 8 - 12 hours so I stuck it up in the shed for the night to do it's work, and work it did!
Mmmm . . . I call these "Dehydrated Semidried Tomatoes" bottled in extra virgin olive oil.
Then I made Tomato Relish, but I have to say this recipe is more like a Chutney 
What's the difference?  Apparently chutneys have a chunky spreadable consistency much like a preserve, where as relishes are hardly cooked, use less sugar if any, and are more crunchy to the bite. 
Tomato Chutney
1 1/2 kg tomatoes
500gm onions
2 cups sugar
1/4 cup salt
1 cup white vinegar
2 tabs cornflour
2 teas curry powder

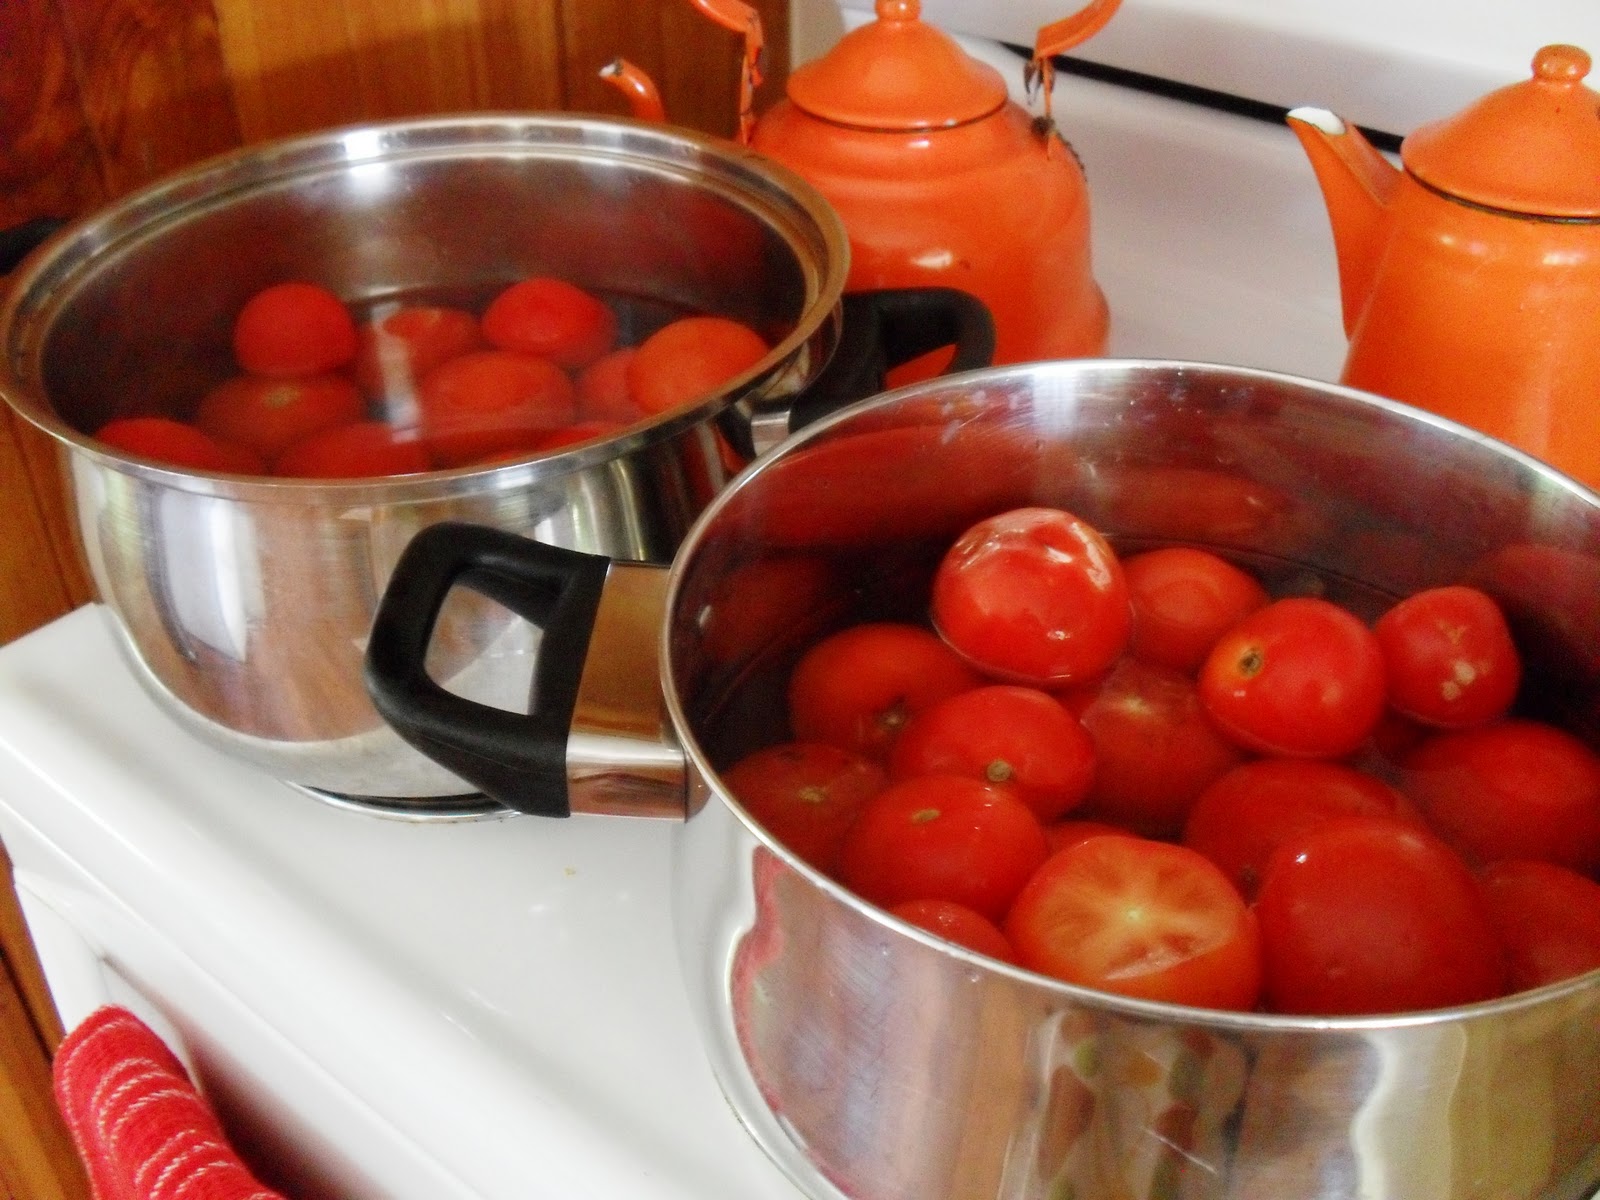
Skin tomatoes and chop roughly
Peel onions and chop finely
Place in a large saucepan and add salt, sugar and vinegar and bring to the boil until tender and sauce reduces slightly, approx 1 1/2 hours
Blend cornflour and curry powder with a little vinegar to make a paste then add. 
Cook until mixture thickens, if mixture is too thin add a little more cornflour or if too thick add little extra vinegar.  Will also thicken when cool. Water bath to seal and store in dark cupboard until ready to use.
and then I was over it . . .
the rest of the tomatoes got blanched, peeled and frozen for adding to recipes at a later date. 

And thats what I did with yesterday's tomatoes TODAY...

Saturday, February 19, 2011

Back in the Garden

It seems like ages since I've been out in the garden, with all the rain we had over December and January I lost a lot of my veggies and herbs (that were really almost at the end of their season anyway) and with all the hot weather that has followed I've not wanted to even be outside.  I've been a bit slack...But it has all changed today. Thanks as always to all those lovely  bloggers and their inspiring gardens I picked up my shovel, put on my hat and ventured out into the veggie patch once again.  I  ripped out the last of what was left and dug, and mixed and mulched and then I planted.
 
I  decide that this time round I would raise most of my seed to seedlings before I plant them in the ground.  I have seen the newspaper roll seedling pots around on a many blogs now and thought I might try this method. It was actually quite a fun activity for the whole family. . . .
 
 I had (whilst been hiding inside on these hot days) done a small amount of research into how I was going to plant this season..I stumbled across this great website Gardenate it is a very easy to read site about planting seasons and the best part about it is that you can subscribe to receive a reminder for what to plant each month...I think this will work for me!  No more digging around the garden books looking for planting guides, this means more time out in the garden for me. . .          

 
   Today with the help of my little diggers we planted Egg plant, Cucumber, Climbing beans, Carrots, Cos, and Silver beet, and my favourite herbs, Parsley and Basil.  Hope these were all on the planting list??? I wish my garden was bigger so I could plant more.. . I noticed on the seed packets today that they recommend you plant every week or fortnightly intervals for a succession of crops. That would be the ideal self sufficient way, perhaps when my littlies grow a little more I may have a bit more time to focus on some planting structure (and digging a larger garden) but for now I'll be happy if I get a salad or two for the family out this lot. . .

Thursday, December 2, 2010

Two more hungry mouths to feed


I found these two on the weekend at the Markets, I just had to have them!  They are PekinX and have the most adorable little fluffy feet. Don't know yet if they are rooster or hen but am hoping to breed a few more little fluffy feet's around here...
When I first bought them home I put them in a closed off area of the coop I keep for mummy's and chicks
'The Maternity Ward'
. 

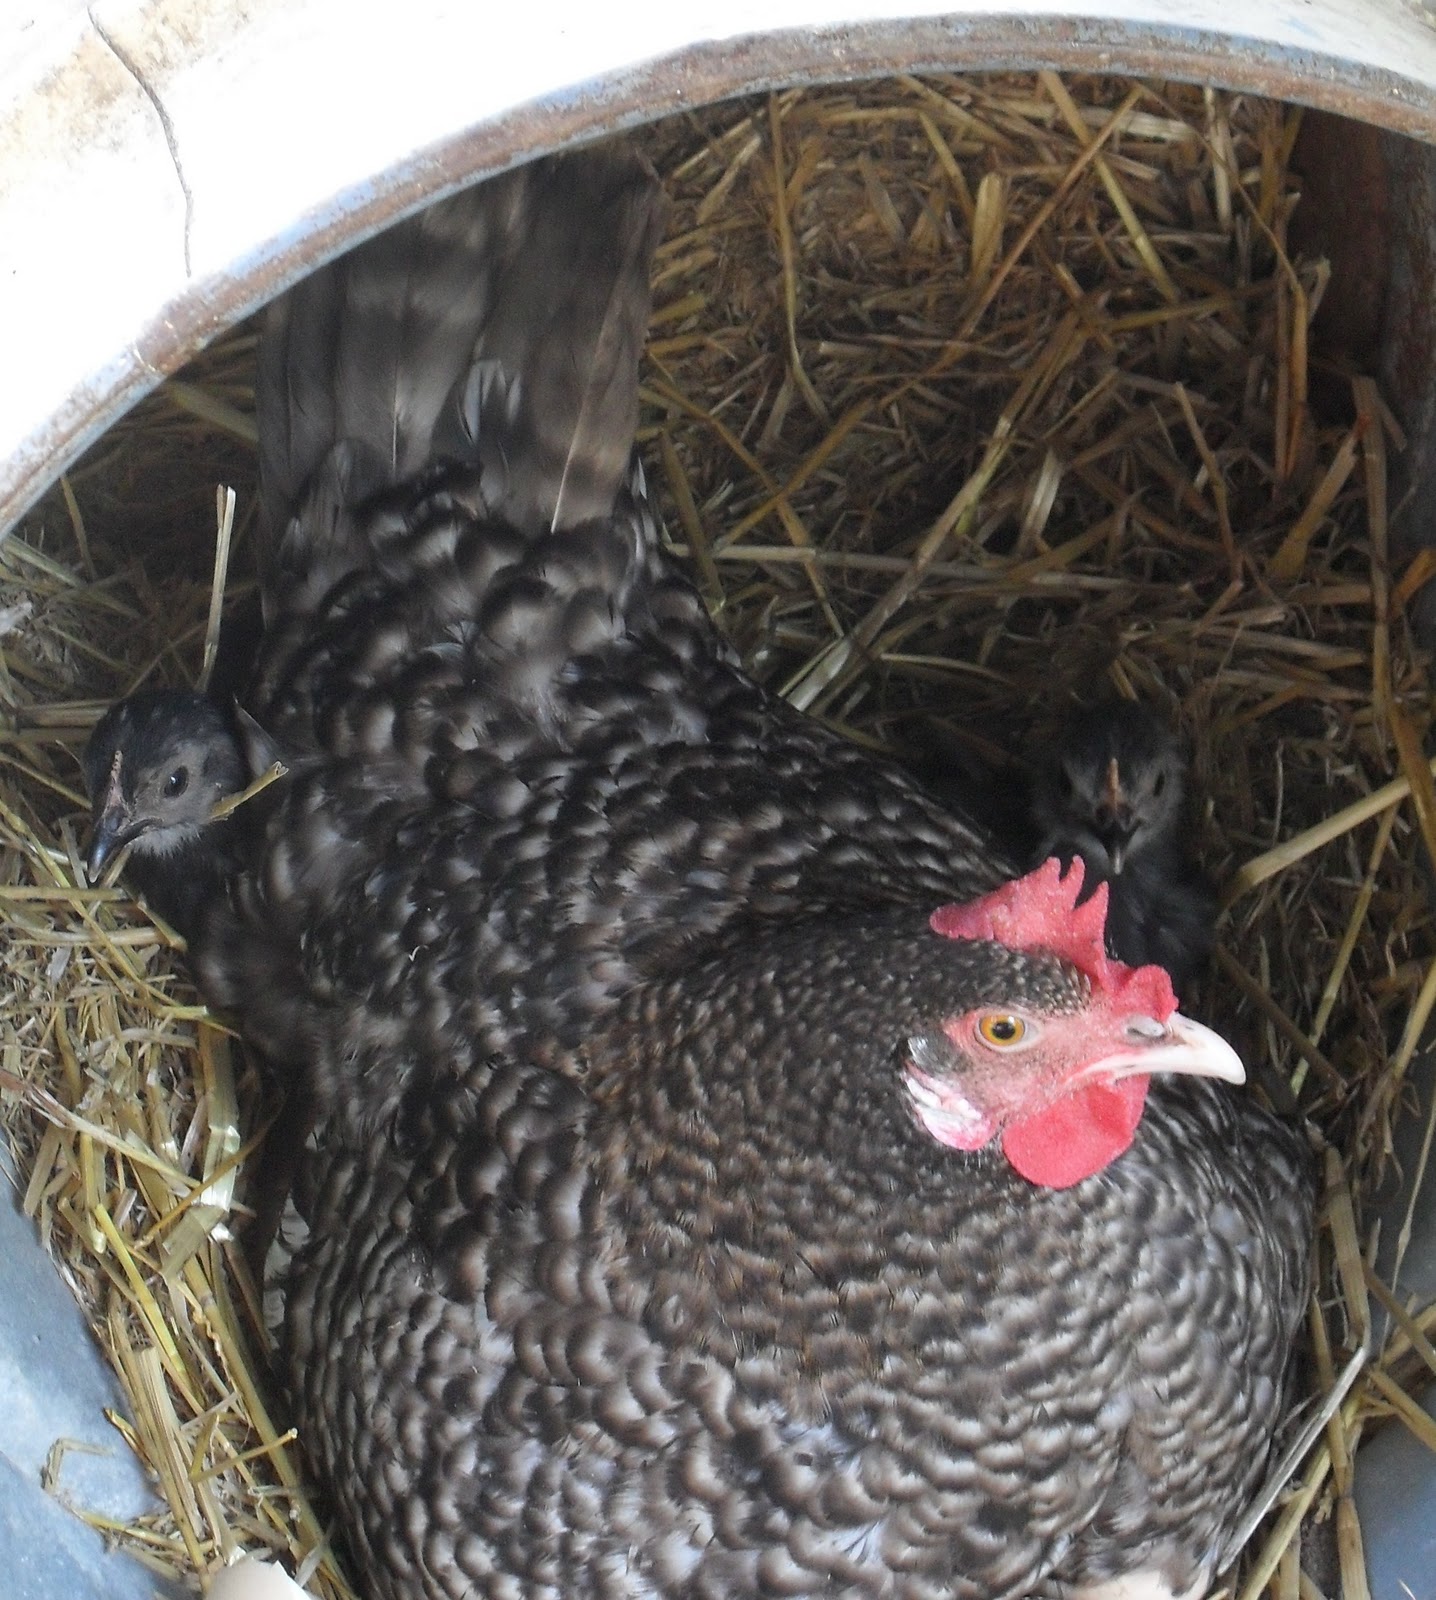
My Speckled Hen was not impressed! They immediately identified her as mum and started nuzzling in to get a little bit cosy. 
 Mum had other ideas about this though...
She already had 7 chicks to take care of and the thought of an extra two must have really freaked her out...She got a little upset with the fluffy feet's treading on her turf...Not a Happy Mama.
Not that you could tell by these photos...
Just like the best of  us mums she’s really trying to LOOK like she’s got it together!!!
Poor little dears,  I quickly moved them...
They now have a new temporary home with the Quails,
just until they are old enough to hold their own in the coop.

Sunday, November 21, 2010

Ripe Raspberries

I didn't know you could grow raspberries in Queensland, I always thought they were grown in cooler climates, so when I saw a Raspberry plant at my local nursery I had to have it.  To my surprise it flowered within a couple of weeks.
Our First Ripe Raspberry, believe it or not, this was divided into six so that we could all enjoy our first berry.

The next week there were plenty for everyone to taste

Oops . . . And then there were none . . .
What I learned today:  Keep the gate closed on the Vege Patch
Related Posts Plugin for WordPress, Blogger...