Saturday, November 27, 2010

Whats been happening in my Garden this week...


 The last of my Gooseberries are finally ripening up, I have had so many bugs in these babies we've not been able to enjoy many this season.

 
Some of my Parsley is starting to seed but it is just as luscious as ever....


 Rocket  - this has taken off and growing full speed ahead
(is this why they call it rocket?)
I'm sure It only sprouted up about 2 weeks ago...
This will spice up my salads, baby rocket ready to pick and eat tonight!


Cucumbers are flowering and climbing up to visit my Capsicums


Should have another bunch of ripe raspberries by the end of this week.
Did you notice...we have six more.
I'll just have to share mine with hubby...


Dill is growing particularly well and will make a nice garnish and sauce with our prawns on our
Christmas Lunch Table.


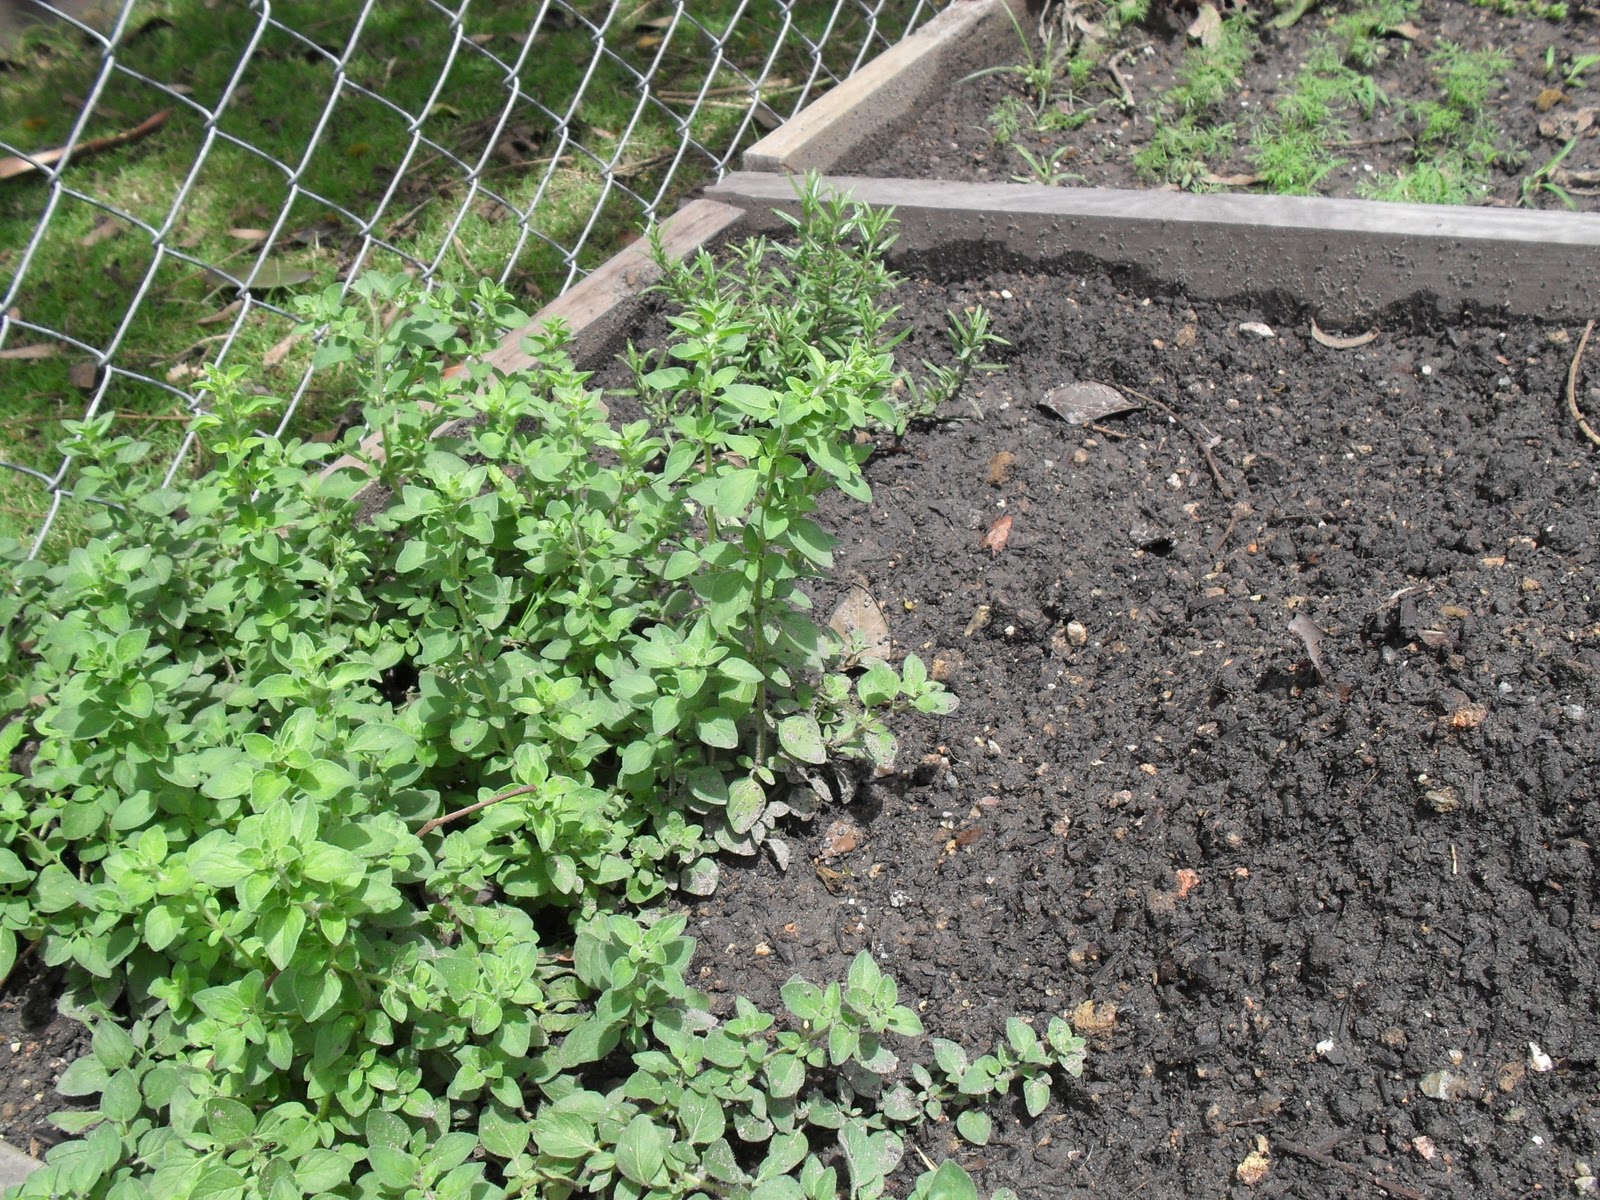
Coriander not doing so well....maybe it doesn't like living next to the dills....??


I have thinned out and replanted  some of my  tomato seedlings, and this time I have fenced them off with chicken wire stop the  chooks digging and scratching them up again...Tomato plants are popping up everywhere at the moment, I should try and just leave them grow as they are instead of moving them, they never survive once I've unsettled there roots....


And finally, I have collected a bunch of nasturtium seeds from under the old bushes, they get pretty scraggly after a while and need a good tidy up so I'll be pulling these out next week and planting a few new ones around the place.

Thursday, November 25, 2010

Look who popped out to say hello this morning...

My speckled hen has babies....I've only seen this one so far. She is sitting on about 6 - 8 eggs so I can't wait to meet the others, it's just like having your own bub, its so exciting to see what they all look like, especially as these eggs would be quite a mixture from several of my hens.

Look at dad, eagerly pacing the coop.....waiting for the next arrival....

Wednesday, November 24, 2010

"Buy an Orange Tree"

So hubby says to me "buy an orange tree, we'll plant it down the back". 
"Okay darl" I said, little does he know my plans are for an entire citrus orchard 'down the back'.
Today I came home with a Lime tree, Lemon, Kumquat, Tangelo, Blood Orange and of course an

It's raining here today so the ground should be perfect for an easy dig. I'll put it on hubby's list of things to do when he gets home....
Nothing like the taste of freshly picked home grown, juicy oranges, We already have an orange tree and two mandarin trees in our house yard, we  get plenty of fruit from these, but there is always room for more...it's nice to bag them up and send home with friends and family. 
And then there's always 'Marmelade'  

Sunday, November 21, 2010

Ripe Raspberries

I didn't know you could grow raspberries in Queensland, I always thought they were grown in cooler climates, so when I saw a Raspberry plant at my local nursery I had to have it.  To my surprise it flowered within a couple of weeks.
Our First Ripe Raspberry, believe it or not, this was divided into six so that we could all enjoy our first berry.

The next week there were plenty for everyone to taste

Oops . . . And then there were none . . .
What I learned today:  Keep the gate closed on the Vege Patch

744 km away

Dad and daughter are off on the road today, It's harvest time down in Tooraweenah and Pop needs some helpers.
It's Annabel's first time away from me, I am going to miss her dearly, I'm nervous for her but I know she is in good company with her dad.  They will be creating their own special memories together.
After lots of mummy cuddles a few tears were shed last night and the bags were almost unpacked but with a new lease of life this morning it was in the car, kisses goodbye and off with dad on a big adventure. Dad you'll be missed as always, it's not often we are away from each other and I count down the days until your safe return.
X0X0X0X0X0 (big kisses & hugs from all of us)


Friday, November 19, 2010

Friday, November 12, 2010

Crafty or Crazy??

So here is the start of my Christmas Craft, not something I usually do, but thanks to all the inspirational crafters out there in blogland I am now ready with needle in hand to create my own handmade memories for my children, It's even rewarding already to think about how much effort I will be putting into this.It does mean so much more to give a present when you know how much you've  put into making it, as is receiving such a gift generously made with Love... Blood, Sweat and Tears....

Thursday, November 11, 2010

Kids in the Kitchen


We often do a big bake at our house at least once a fortnight so I have home baked treats for the kids lunchboxes, midnight snacks for dad and sweet indulgences for me and the little ones. 
Oh what fun, Annabel learned how to crack an egg, 
Elli taught teddy how to cook 
and Miss Madeline  discovered  how much fun it was to lick the bowl...
Today we made:
Walnut and date slice - for dad
1 1/4 cup sr flour
2/3 cup brown sugar
3/4 cup chopped dates                           
1/2 cup walnuts      
125 gm butter
1 egg
Place all ingredients in a bowl and mix well
Melt butter, beat egg well then add both to the dry ingredients
Mix well together and press into a greased slice tin
Bake in Moderate oven until golden brown
When cold cut into squares


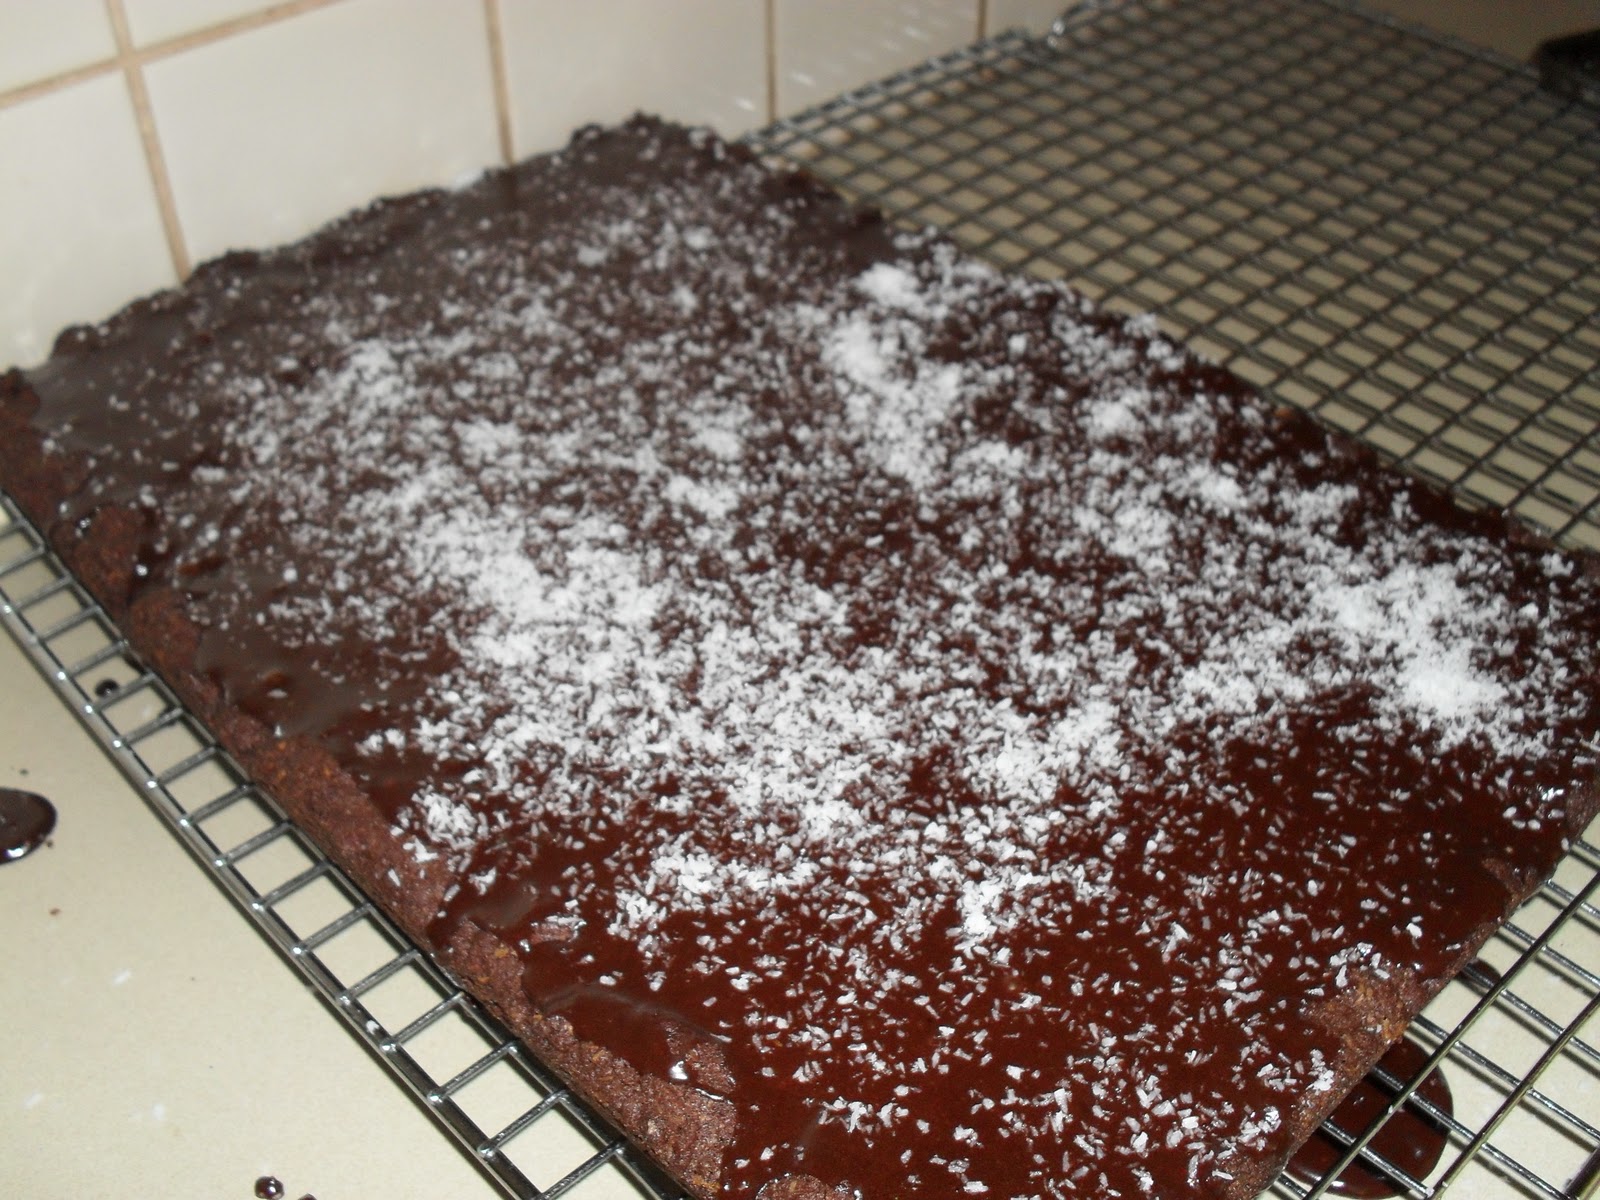
Chocolate Slice - for  the kids
This is one of those old time favourite slices my mum used to make when I was little, it does not last very long in my house.
1 cup sr flour
2 heaped tabs cocoa
pinch salt
1/2 cup coconut
3/4 cup sugar
125gm butter
1 egg


Sift flour, salt and cocoa into bowl
Add sugar and coconut and mix well
Stir in melted butter and beaten egg
Mix together well
Press into greased slice tin
Bake in moderate oven for approx 25 mins
Cool completely and ice with chocolate icing
(2 tab cocoa, 1 cup icing sugar, 1 tab butter, 1 drop hot water - mix well together, spread over slice)
Sprinkle with coconut
Cut into squares


Sultana Scones - for mum
2 cups sr flour
pinch salt
2 tabs butter
1/2 cup sultanas
2 tabs sugar
3/4 cup milk
1 egg


Sift flour and salt into a bowl then add the sugar
Run in butter with finger tips
Add sultanas
Make a well in the centre and add beaten egg and milk
Mix into a moist dough
Turn onto floured bench. press out with hand and cut into scones
Place on greased and floured tray
Bake in Moderate Oven until brown about 15 mins
Serve cold with butter or jam and cream
*This recipe can also be used with kids cookie/playdough cutters for a FUN morning tea
*Dont forget to double all the recipes

Wednesday, November 10, 2010

My latest and greatest market buy...

The Bean Slicer.....


Hello Yellow

I have no idea what this flower is....it was here when we first bought our place as a scraggly half green and brown leafy plant.  We dug most of it up.  What a mistake that was.  When we moved into our place here it was middle of winter, everything was very brown and yuck and we were also in the middle of drought.
It is not until spring that this plant truly works its magic....it triples in size and is bursting with these bright yellow blooms, it continues to flower through out the spring and well into summer,  as these long stemmed flowers fall they re root where they drop so next season we get double, triple, quadruple the amount of plant. 

They make a great cut flower too...prettying up our kitchen table.

This is one flower that I do let my little girls pick anytime they like as there are just more and more ready to open the next day! 
This is an absolute spring delight! 

Tuesday, November 9, 2010

The dishes are DONE!

What a sight....

Fetta days are betta days

I've been experimenting with cheese making for a few months now...It is so simple and easy and I can't believe I never discovered this years ago...  SO much fun and SO yum...My fetta is a huge hit in the house and I have to say I am addicted.  It's hard to open the fridge and not have a little nibble. I have not yet shared this delight with many people as it gets eaten all too quickly around here, everyone is a fan, even little miss mads who does not go a day with out a slice on her plate.  I could spend a few extra hours here writing about the whole process and uploading photo's or I could head into the kitchen and get started on my next batch right now and I'll send you here for the recipe
My last batch I marinated in garden fresh herbs, lemon peel and fresh extra virgin olive oil from my brother in laws olive grove.  Just realised I need to make a new batch of this one!  I think I have little hands in the house helping themselves.....

Saturday, October 23, 2010

Healthy Herb Garden

I have just added some fresh organic soil to my vege/herb garden.  Wow...don't they soak it up... everything has doubled in size and just looks greener and fresher. 
 I have just turned my little vege garden into a herb garden, as my plans for my supersize vege patch is well on it's way.  More about that hopefully in a couple of months, if not less.
It was nice to take a superhuge bunch of fresh parsley to playgroup last week to share with all my mummy friends.  Must have been something in the air that day (or maybe it was due to the rain we had had all week) as I one of the other mums brought in a big bunch of silverbeet from her garden as well, I usually take along a couple of dozen fresh eggs to hand out occasionally as I did today so we decided to make a garden tart with our produce, milk from the coffee fridge and flour from the playdough cupboard.  What a fun morning it turned out to be, teaching the children about growing and cooking our own veges....

Friday, October 22, 2010

Play with Dough


Playdough
Ingredients:
2 cups SR Flour
2 tbs cooking oil
1 cup salt
Food colouring
2 cups water
Mix the ingredients in a saucepan, stir over medium heat for about 5 min or until mixture congeals.
So, I used to stir this Playdough on the stove top until it 'congealed' then I spent the next three days soaking and scrubbing the pan until all the glug came off. Not any more....
What I learned toady: Add boiling water to the flour mix. Instant Playdough.

Wednesday, October 13, 2010

Cress


Sprinkle like this...Day 1


Grows like this...Day 5


Chutney


Ready for Christmas....this is my all time favourite chutney, I call it exotic apricot and date.  It has a very middle eastern type flavour and is totally yum on a cold plate with cheese and cold roast meats.
Chutneys are my most favourite preserve, there is so much room for imagination with endless combinations of fruits, vegetables and spices....I always double my recipe so I have plenty to share with friends and family.  This chutney stores and ages particularly well, if it lasts long enough!!!

Ingredients - all approximates
500 g dried apricots
1 cup water
500gm dates
1 1/2 cups sultanas
2 oranges (zest and juice)
1 1/2 cups cider vinegar
3/4 cup brown sugar
2 tab chopped fresh or preserved ginger
1 tab salt
2 tab mustard seeds (black and yellow mix)
2 tab crushed coriander seeds
5 cloves
1 teasp chopped chilli

Finely slice the apricots, place in a saucepan and cover with water and leave to sit for an hour or so until they become soft.  Add the sultanas and vinegar and simmer for about 15 minutes, then add all the remaining ingredients, simmer until it thickens.  Keep stirring!  Add extra water or vinegar if needed.  Pour into sterilised jars with new lids.  Water bath to seal and store in dark cupboard until ready to use. 
Once open store in the fridge.  ENJOY!

Monday, October 11, 2010

Creamy Bacon & Mushrooms

I'd like to say it's from my Pig but no...not yet...that is still on the vision board, as is the milking cow.....oh and I've not quite looked into how to grow your own Mushy's yet, however it was made fresh in my kitchen with love. I don't usually follow recipes with quantities, I tend to just estimate my proportion of ingredients to suit the number of people I'm cooking for, toss it all in and hope for the best.

Fry some bacon, garlic, onions and mushroom in butter until crisp and golden. Add big bunch of chopped fresh herbs from the garden, today we have Flat Leaf Parsley and Oregano. Stir through some cream, add a sprinkle of Salt and Pepper. Served over my Freshly made Pasta.

This is one of those meals everyone at my house eats, nice and rich and creamy, can be served with yummy green salad on the side.

PASTA

I have had a pasta machine in my cupboard for about 6 years now, it was one of my visions I had when I had so much more time on my hands to actually make my own pasta. Well after last nights experience I realise that I actually do still have the time, you know it's all about just making the effort, anyone who makes their own pasta knows there is not much to it at all. Although next time I might allow myself a little more time so that we can actually eat at a normal time, little hungry tummies don't wait very long especially when they know there is two minute noodles hiding somewhere at the back of the cupboard that would surely be much easier to cook!!!
My Basic Pasta recipe goes like this:

  1. Sam runs down to the chook coop to collect 5 big Fresh Eggs
  2. I open the cupboard and pull out 2 1/2 cups plain flour and 1/2 tsp salt and sift these together.
  3. I throw the flour on the kitchen bench, while Sam cracks open the eggs, gives them a quick whisk and throws them into the well I made in the centre of my flour.
  4. While I work the eggs into the flour with my fingertips, Sam finds the Pasta machine and attaches it to the bench.Once my dough has formed, I give it a firm knead for about 6 minutes until it's nice and smooth and elastic.
  5. I toss a little extra flour around to get it to the right consistency, that is when you press your finger in and it comes out clean, not sticky.
  6. I then chopped my dough into four pieces, wrapped them in glad wrap and rested them for ten minutes.
  7. I can't begin to tell you how much 'other' stuff I got done in this ten minutes while waiting for my pasta to rest!
  8. With my hands all floured and arguments with Sam won over who was going to roll it out first, I squished down my first chunk of pasta into a slightly rectangle kind of shape and started rolling through my machine, The machine itself has 8 settings, I just kind of guessed a few settings and rolled and rolled, about 6 - 7 times reducing the setting until my pasta was nice and smooth and about the right thickness for what I wanted.
  9. We then rolled it through the spaghetti maker...I say we as you actually need two people for this process, one to guide it as it goes in and the other to hold it as it comes out all spaghettied, we got a little tangled and sticky at this stage but I just kept tossing and separating my pasta on my very floury bench.
  10. Into the pot of Boiling, salted water.... It was that simple.
All in all the process probably took about 1/2 to 3/4 hour, I think I can manage to find the time to do this again, The preparation was fun, the food was fresh and the taste and texture of my fresh pasta was non comparable to our usual dried store bought sticks.

What I learned today: Always double the recipe!

I have also discovered that my bread machine makes Pasta. Hmm, might try this way next week..anything to save myself a little bit of time is a good thing.
Could I still call that Handmade?

Thursday, October 7, 2010

Seedlings

Today we planted Zinnias. I plant these every spring, they flower every summer, I then pick them every autumn, pop them in a vase and they adorn my kitchen for the next twelve months until I replace them with the next years blooms. Here are last seasons or maybe the season before?? sitting up on the bench above my stove, slightly dusty, a few cobwebs, and looking very unloved... but they keep the same bright Orange colour they were when they were growing in my garden... This year I have also planted them in white, I can't wait to see how they bloom. My little girls helped me dig, plant and water, they can't wait to start picking, I'm trying to teach the girls to leave the flowers in the garden so that everybody can admire them, they just don't get it though. Annabel in her defence says "but Mummy if you pick one then another one will grow!" How right she is, my little horticulturist in the making. We all know this as pruning...

Wednesday, September 29, 2010

Mulberries


What a sight today on the side of a not so busy country road...Mulberry Trees full of ready to EAT Mulberries. I have childhood memories of picking Mulberries from the neighbours tree on my way home from School, and Mulberry fights with my cousins from the wild Mulberries that grew on the creek bed on my Nana's farm. Mmmm ever so sweet and tangy, I have to share these with the family....1, 2, 3,4,5 all out of the car...today we are Mulberry picking! Yum!!! I need these growing in my backyard. I noticed a few runners growing from the trees so with hands stained black and purple I sneaked a few out of the ground and into my car. I hurried up the Mulberry pickers, much to their dislike so I could get home and get these little suckers into the ground. My vision for today is Mulberry Pie with Mulberries picked from our own mulberry trees which now have a new home right next door to the chook coop (more about the chooks later...) The chook manure should fertilise my trees and once my trees grow up, the chooks get to enjoy the Ripe Mulberries which fall to the ground...that is if we don't get them first. We're going to need a lot of Mulberries to keep all our tummies satisfied. So excited...We're on our way! I'm so inspired to get to the markets to buy more fruit trees, they say the best time to plant fruit trees was 5 years ago, the next best time is NOW!
Related Posts Plugin for WordPress, Blogger...